Almost every guide to cleaning pavers treats them like a concrete slab. They are not. A slab is one continuous surface. A paver patio is hundreds of separate units held in place by the sand packed between them, and that sand is exactly what a pressure washer is best at removing.
Get the pressure and the angle wrong and you will finish with clean pavers, empty joints, and a patio that starts shifting and sprouting weeds within a season. This guide covers how to clean them properly, the white haze that is not actually dirt, and the re sanding step most people skip.
How do you clean pavers?
Sweep the surface, pre wet it, apply a cleaner suited to the staining, then rinse at low pressure with a wide tip held about a foot back and angled across the joints rather than into them. Keep pressure at or below roughly 1,500 PSI, then let the pavers dry fully and refill the joints with fresh sand.
The pressure ceiling is not arbitrary. The Concrete Masonry and Hardscapes Association, the industry body that absorbed the old Interlocking Concrete Pavement Institute, puts the practical limit around 1,500 PSI, above which you risk both etching the paver surface and displacing joint sand. Most patios clean perfectly well between 500 and 1,500.
Why pavers are different from concrete
Two things separate a paver patio from a poured slab, and both are where DIY jobs go wrong.
The joint sand is structural
Interlocking pavers work because the sand between them transfers load from one unit to the next. Blow that sand out and the pavers lose their interlock. They begin to rock underfoot, edges chip where units knock together, weeds germinate in the empty joints, and water runs down into the base and washes it out. The patio does not fail immediately. It fails slowly over the next couple of years, and by then nobody connects it to the cleaning.
Their maintenance guidance gives a useful threshold to check against: if the sand sits more than about half an inch below the top of the paver, the joint needs refilling. That is worth checking before you clean and again afterward.
Efflorescence is not dirt
The chalky white haze that appears on new or newly cleaned pavers is efflorescence, mineral salts migrating out of the concrete and crystallizing on the surface as water evaporates. It is not dirt, it is not mold, and scrubbing harder will not shift it. It needs an acidic cleaner made for the job, or simply time, because it often weathers off on its own over a year or two.
What is actually on your pavers
Match the problem before you buy anything. Pavers collect several kinds of staining and they need different treatments.
What you see | What it is | What removes it |
|---|---|---|
Green or black film, worst in shade | Algae, moss, and mildew | A bleach based or oxygen based cleaner with dwell time, then a low pressure rinse |
Chalky white haze, often over a wide area | Efflorescence, mineral salts from the concrete | A dedicated efflorescence cleaner, or vinegar on light cases. Often weathers off in time. |
Brown or reddish staining under trees | Leaf and bark tannin, an organic stain | An oxidizing cleaner. Not an acid, despite it looking like rust. |
Orange staining, often in sprinkler arcs | Iron and rust from irrigation water or metal furniture | An acidic or oxalic based cleaner |
Dark defined blotches | Oil and grease | An alkaline degreaser, then a poultice for what soaked in |
Weeds and grass growing in the lines | Empty or depleted joints | Removal, then re sanding. The weeds are a symptom, not the problem. |
The tannin row catches people out constantly, because brown reads as rust. It is organic and responds to the opposite chemistry. We cover that distinction and the oxalic acid method for genuine rust in our guide to rust and oil stains on concrete.
Safe pressure and technique
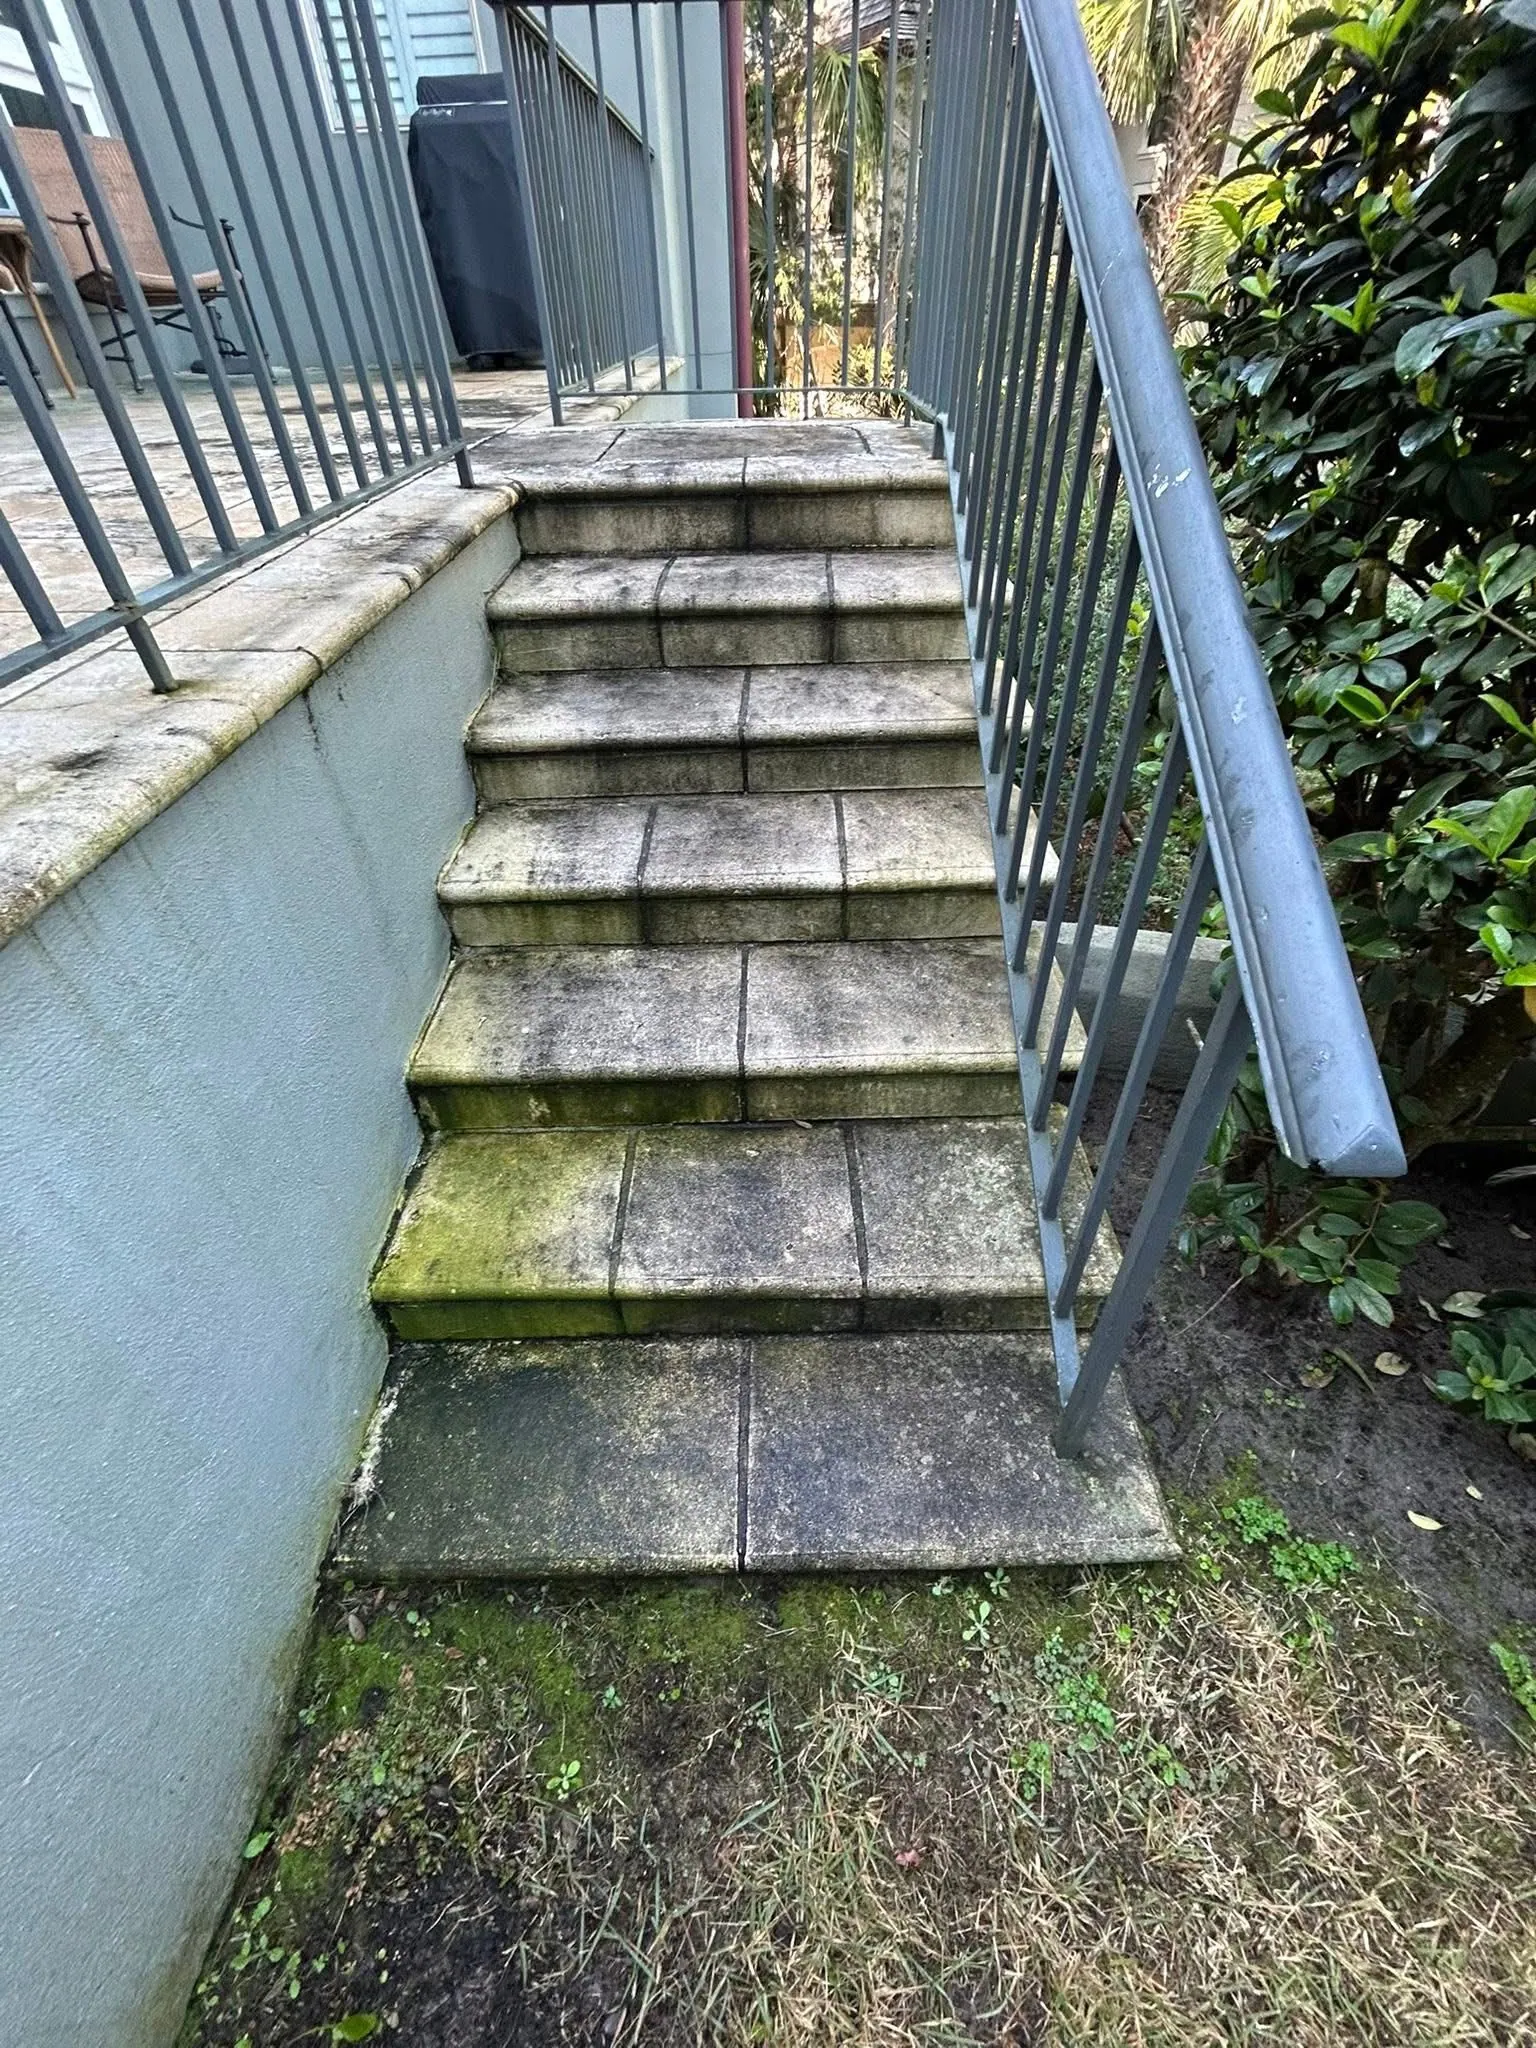
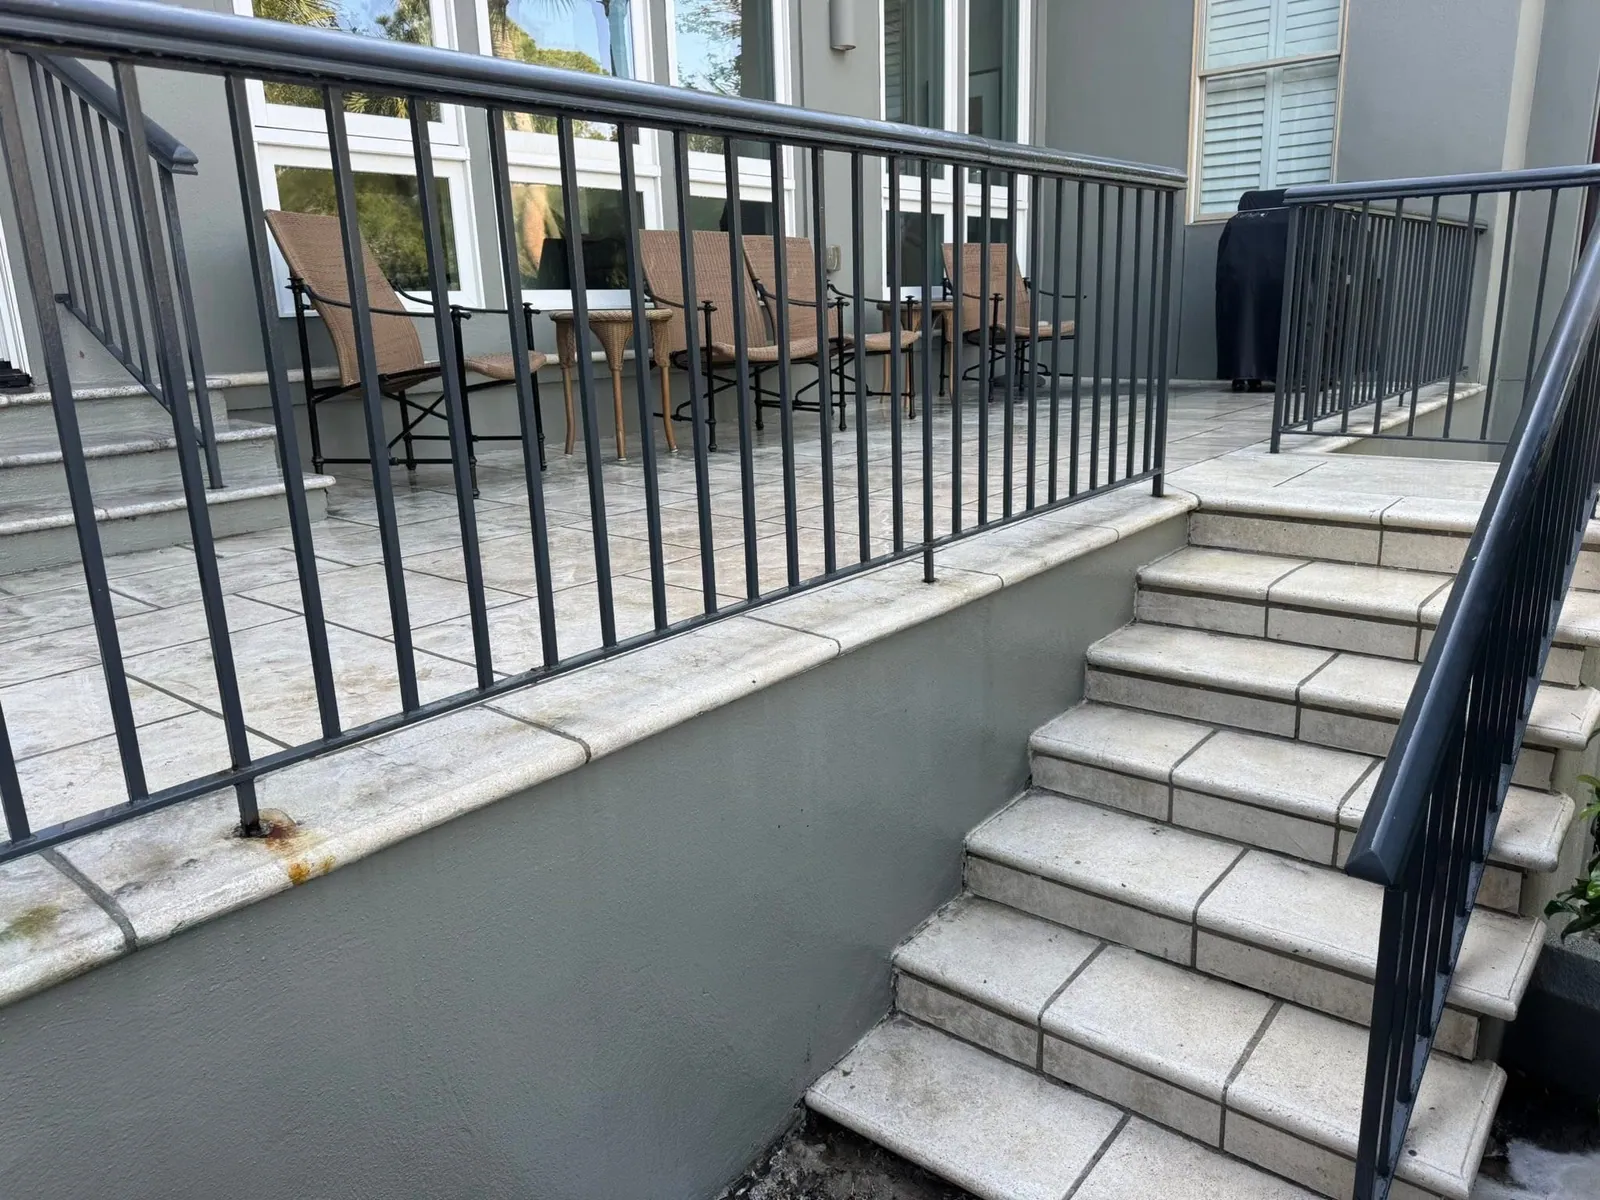
Technique matters more here than on any other hard surface, because the failure mode is invisible while you are working. The sand does not vanish dramatically. It just quietly leaves.
Setting | Do this | Why |
|---|---|---|
Pressure | 500 to 1,500 PSI | Above roughly 1,500 you risk etching the paver face and blowing out joint sand |
Tip | 25 degree green, or a surface cleaner | Narrow tips are the leading cause of etching. A surface cleaner spreads force evenly. |
Distance | About 8 to 12 inches | Closer concentrates force into the joints |
Angle | Across the joints, never straight down into them | A stream aimed into a joint excavates it in seconds |
Motion | Keep the wand moving steadily | Pausing in one spot leaves a visible clean patch and etches the surface |
Direction | Start at the bottom and work up the slope | CMHA guidance. Cleaner running onto already wet pavers rinses away instead of streaking. |
The surface cleaner is the single best upgrade for this job. It is the round attachment that houses spinning jets under a shroud. It holds a consistent distance, spreads the force evenly, and never lets you point a concentrated stream into a joint. It is also far faster than a wand and gives a uniform finish rather than the striped look a wand leaves.
Our nozzle and safe PSI guide covers the full tip chart if you are cleaning other surfaces at the same time.
How to clean pavers, step by step
Clear and sweep the surface. Move furniture and planters, then sweep off loose debris. A leaf blower is quicker than a broom for the bulk of it.
Pull weeds from the joints first. Get them out by the root now. Blasting them out with water takes the remaining sand with them.
Protect the surrounding planting. Soak nearby beds, grass, and shrubs with plain water, and tie back or cover anything close enough to catch overspray.
Pre wet the pavers. A damp surface stops cleaner from soaking unevenly into dry spots and streaking.
Spot treat specific stains first. Deal with oil, rust, or tannin individually before you clean the whole area, so the overall wash finishes evenly.
Apply your cleaner across the whole surface. Work in manageable sections from the bottom of the slope upward, and let it dwell without drying out.
Rinse at low pressure. Wide tip or surface cleaner, about a foot back, angled across the joints, steady overlapping passes.
Let it dry completely. Give it at least 24 hours of dry weather. Sand will not flow or set properly into damp joints.
Refill the joints with fresh sand. Sweep it in, and follow the product directions exactly if you are using polymeric sand.
Consider sealing. Once everything is clean, dry, and re sanded, a sealer makes future cleaning much easier.
Re sanding the joints
This is the step that separates a cleaning that lasts from one that causes damage, and it is the one homeowners most often skip because the patio already looks finished.
You have two options. Regular joint sand is cheap, easy, and needs topping up periodically. Polymeric sand contains a binder that sets hard when wetted, so it resists washout and suppresses weeds far better, but it is much less forgiving to install.
If you use polymeric sand, get these right
The pavers must be bone dry. Any moisture in the joints starts the binder setting before the sand is where it belongs.
Sweep every grain off the paver faces. Binder left on the surface dries as a permanent haze that is genuinely difficult to remove. Blow the surface clean before watering.
Fill the joints properly, not partially. Sweep in, settle it, and top up until the joint is filled to just below the paver edge.
Water exactly as the label says. Too little and it never sets, too much and you float the binder out onto the surface.
Watch the weather. You need a dry window after application. Rain too soon ruins the set.
One more note from CMHA worth repeating: excess sand left sitting on the paver surface year after year acts as an abrasive underfoot and accelerates wear and color change. Sweeping the surface clean after re sanding is not just cosmetic.
Dealing with efflorescence
If a white haze appears after cleaning, do not panic and do not scrub harder. Cleaning draws moisture into the paver, and as it evaporates it carries mineral salts to the surface. It is a normal reaction, especially on newer pavers.
Wait first. Light efflorescence frequently weathers away on its own over several months of ordinary rain.
Try a mild acid next. White vinegar at full strength on the affected area, a few minutes of dwell, then scrub and rinse thoroughly, handles many cases.
Use a dedicated efflorescence cleaner for stubborn haze. These are formulated for the job and are safer on the paver than improvising with strong acid.
Be careful with muriatic acid. It is often suggested and it does work, but it can etch the paver face, strip color, and is hazardous to handle. We would not recommend it as a homeowner first resort.
Seal afterward. A sealer slows the moisture movement that drives efflorescence in the first place.
Sealing pavers
Sealing is optional but genuinely useful on pavers, more so than on a plain slab. It fills the surface porosity so oil, tannin, and organic growth sit on top where they can be cleaned off, and it helps lock the joint sand in place.
Only ever seal pavers that are completely clean, fully dry, and freshly re sanded, because a sealer locks in whatever is underneath it
Expect to reseal roughly every two to three years depending on sun and traffic
Choose the finish deliberately, since a wet look sealer noticeably darkens the color while a matte one stays closer to natural
Test a small hidden area first, especially on older pavers where the color has already changed
Keeping them clean longer
Sweep regularly. Organic debris is the food source for the algae and moss that cause most staining.
Keep joints topped up. Full joints resist weeds far better than any weed killer does.
Improve sun and airflow. Trimming back overhanging branches slows growth more than any product.
Fix standing water. Low spots that stay damp are always where growth starts.
Deal with stains quickly. Fresh oil and tannin come up far more easily than stains that have soaked in for a season.
The chemistry behind killing the organic growth on hardscape is the same as on siding and roofs, and if you want to understand it properly, our beginner's guide to sodium hypochlorite walks through strengths, dwell time, and plant protection.
When to hire someone
The patio is large enough that a wand would take all weekend and leave stripes
The joints are already depleted and the pavers are moving underfoot
You have efflorescence or embedded staining that has not responded to a normal wash
You want it cleaned, re sanded, and sealed as one finished job
The pavers are travertine, marble, or another natural stone, where the wrong chemical etches permanently
A professional paver cleaning is part of our concrete cleaning work, and where a patio meets the drive we handle both together as driveway cleaning. If your patio is a pool surround, we wrote about the specific surfaces involved in pool deck cleaning.
We clean paver patios, walkways, and stairs across the Charleston Lowcountry, with surface cleaners that protect the joints. Get a free quote and we will tell you whether yours needs cleaning, re sanding, or both.
Frequently asked questions
Can you pressure wash pavers?
Yes, at low pressure and with the right technique. Stay at or below roughly 1,500 PSI, use a 25 degree tip or a surface cleaner, hold it about a foot back, and angle the spray across the joints rather than into them. Above that pressure you risk etching the paver face and blowing out the joint sand.
What PSI should I use on pavers?
Between about 500 and 1,500 PSI. The hardscape industry treats roughly 1,500 as the practical ceiling for concrete pavers, above which surface damage and joint sand displacement become likely. Start low and increase only if you need to.
Do I need to replace the sand after pressure washing pavers?
Almost always, yes. Even careful washing removes some joint sand, and the joints are what hold the pavers in place. Check after the surface dries, and if the sand sits more than about half an inch below the top of the paver, refill it before weeds and movement start.
What is the white haze on my pavers?
Efflorescence, which is mineral salts migrating out of the concrete and crystallizing as water evaporates. It is not dirt and scrubbing will not remove it. Light cases often weather away over months, and stubborn haze responds to vinegar or a dedicated efflorescence cleaner.
Should I use polymeric sand or regular joint sand?
Polymeric sand resists washout and suppresses weeds much better, which makes it the better long term choice. It is also far less forgiving: the pavers must be completely dry, every grain must be swept off the surface before watering, and the watering step has to follow the label closely or it either never sets or hazes the pavers.
How do I stop weeds growing between pavers?
Fill the joints. Weeds germinate in depleted joints where seeds and debris collect, so the durable fix is proper re sanding, ideally with polymeric sand, rather than repeated weed killer. Pull existing weeds by the root before you clean, not after.
How often should pavers be cleaned?
Roughly once a year for most patios, and more often in humid or heavily shaded conditions. Shaded areas and spots that stay damp are always the first to green up, so let those be your cue rather than the calendar.
Does bleach damage pavers?
Diluted bleach is widely used on concrete pavers and is effective against algae and moss. The real risks are to surrounding plants, so pre wet and rinse thoroughly. On natural stone such as travertine or marble, use a stone safe product instead, because the wrong chemistry etches permanently.
The bottom line
Treat the joints as the point of the job rather than an afterthought. Low pressure, a wide tip or a surface cleaner, spray angled across the joints and not into them, then let everything dry and put fresh sand back. Do that and a paver patio cleans up beautifully and stays stable for years.
Blast it at full pressure with a narrow tip and you will get one very clean weekend followed by weeds, rocking pavers, and a base that is quietly washing away underneath.